
With some of my niche sites, I use quite a few images from Flickr because of the wide selection of highly specific things. There are millions of images on Flickr, many of which we can use on our blogs. Just watch out for the ones you can’t use, they’re labeled “all rights reserved”. In this article I’m going to show you how to credit an image from Flickr in a blog post.
How to use images from Flickr in a blog post
When using images from Flickr, we’re typically going to be using Creative Commons images. Below is the process I go through when I use an image from Flickr. Read all the way until the end to see not only how I credit the author’s pf these images, but also to get some helpful text snippets you can use on your own blog.
Let’s get started.
1. Search for your image on Flickr
The first thing I do is simply go to Flickr.com and search for the image I’m looking for.

2. Filter the results
Then I will filter the results. I always first look for images in the public domain that require no attribution, you’ll find these under “no known copyright restrictions” in the filter tab.
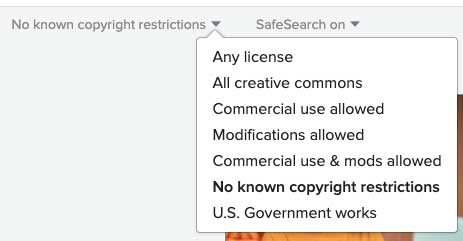
If there are no public domain images available, then I typically go to “commercial use allowed”. If there are images available for your query, then you’ll usually see images with one of the following licenses: BY 2.0, BY-SA 2.0, or BY-ND 2.0. All of which you can use on your blog if you credit the author properly. You really don’t even have to be perfect in your attribution, give a reasonable credit to the author.
3. Find the license
You can find the link to the license for the image just under the date it was taken. It should say “Some rights reserved”.
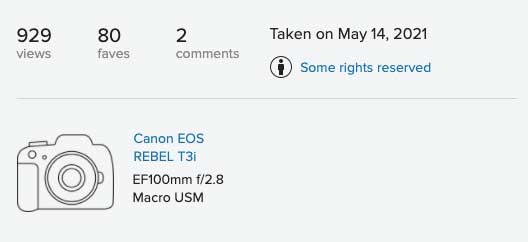
If it’s a public domain image then it will look like this and say “Public domain” where the license normally is.

If it’s public domain then there is no attribution required (though it’s still nice to), if it’s anything else then you’ll need to click on that link and write down the license. It will likely be one of the ones I mentioned above, but there are others.
4. Download the image
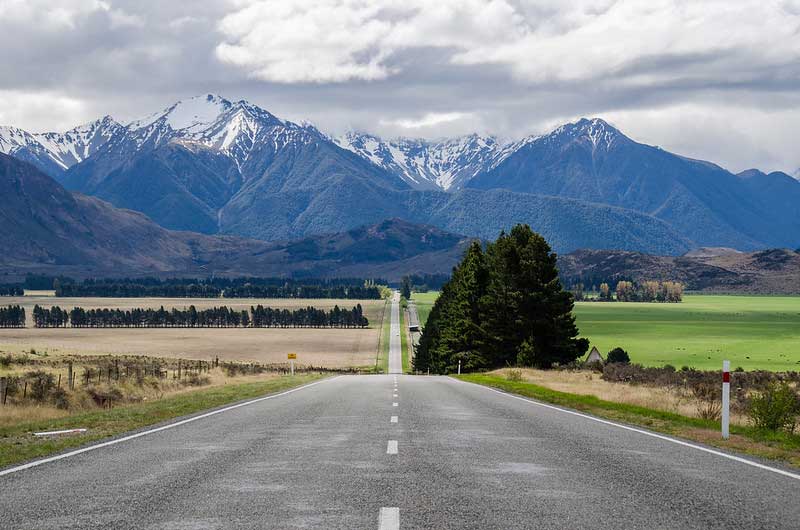
Now that you’ve found your image and written down the license you can go ahead and download it. Most images have several sizes to choose from, what you use is up to you. For normal blog posts I typically choose 800×533. Choose whatever size you need.
5. Optimize the image
Go ahead and optimize the image using whatever method you choose. Crop it and prepare it for use on your site, just make sure the license allows for modifications. I use Photoshop before I upload it, then it’s optimized again with the Shortpixel plugin on the website.
6. Upload the image to your site
Next you’ll upload the image to your WordPress blog as you normally would.

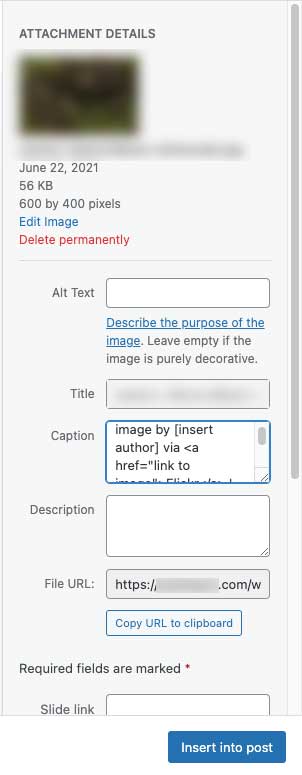
Except when it shows the uploaded image in your media center you’re going to stop there. So don’t press “insert into post” yet. This is where we add the attribution.
7. Add the attribution
Now that the image is uploaded, but we haven’t inserted it into the post yet, you want to go to caption.
It’s important that you get everything for your attribution in at this point, HTML for the link and everything, that way any time you use the same image it will have the same attribution and won’t be on just the one post.
Here are attributions that you can copy for the main 3 licenses that I use:
image by [insert author] via <a href=”link to image” target=”_blank”>Flickr</a> | CC BY 2.0
image by [insert author] via <a href=”link to image” target=”_blank”>Flickr</a> | CC BY-SA 2.0
image by [insert author] via <a href=”link to image” target=”_blank”>Flickr</a> | CC BY-ND 2.0
Which would look like this on your website:
image by Jim Smith via Flickr | CC BY 2.0
image by Jim Smith via Flickr | CC BY-SA 2.0
image by Jim Smith via Flickr | CC BY-ND 2.0
You may also want to link to the license you are using, in which case it would be like this:
image by [insert author] via <a href=”link to image” target=”_blank”>Flickr</a> | <a href=”https://creativecommons.org/licenses/by/2.0/” target=”_blank”>CC BY 2.0</a>
and look like this:
image by [insert author] via Flickr | CC BY 2.0
Here’s an example of a real image from Flickr being credited:
8. You’re done
If you’ve credited the way I showed you in the last step, then that image will be credited the same way in every post it is used in. Just be aware that featured images do not display a caption, so either avoid using Creative Commons images as the featured image or credit elsewhere on the page.
If you didn’t credit the image this way and instead uploaded the image, clicked on it in your post, and added the credit to the caption there, then that’s fine. Just keep in mind that the credit will only show in that one post and you’ll have to do it again for every other use on your site. If you only plan to use an image once then I suppose it doesn’t matter.
thanks for reading!